
In this blog post, we'll show you the 5 different ways you can add your own
custom cascading style sheets or CSS codes to your Blogger site, because at
some point you'll want to
start customizing
and let your brand personality shine. Don't worry if you've never done any
coding before, it's not too hard. And you can always go back 😉
But first, back up!
So before anything else, please remember.. if anything goes wrong during your
tweaking session, you need an HTML code backup of your previous theme. To
restore the previous look, you can upload the code file into Blogger.
Now where is this backup code hiding?
From your dashboard go to Theme, and then look for the
Backup/Store button on the top-right area—just under your Google
account icon.
Once you click on it, look for the Download theme button and save the XML file on your computer or on the cloud.
Once you click on it, look for the Download theme button and save the XML file on your computer or on the cloud.

|
Find the download button |
Make sure you name the file properly so you can find it later. Something like
[myblog_theme_ddmmyy] or [myblog_backup_mmyy].
Top-Tip: If you plan to make fundamental changes to the entire blog, you need to create a copy of the widget codes, too. Widget settings are not usually built-in, so when you upload the theme file later, you might find the widgets don't quite hang the same way.
Just copy and paste your widget codes one by one to ensure you can get all of
them back in one piece.
Learn how to back up your entire blog 💃 here.
Method 1: Blogger's Template Designer
If you're using Blogger's built-in template, easily override the currently
active design with your own styling code. On a premade theme, this feature is
sometimes turned off. To insert the code snippet into Blogger, follow these
steps.
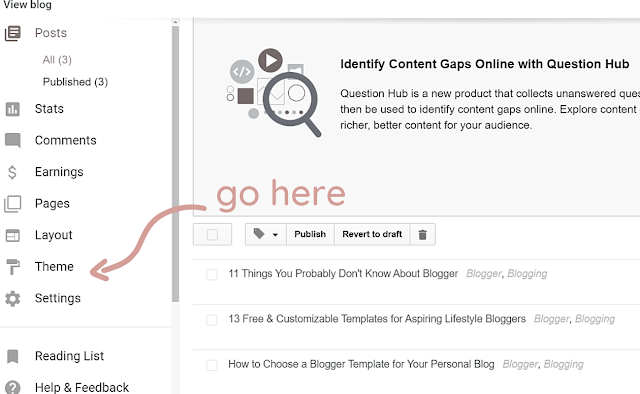
Step 1: With your blog selected, from the dashboard go to 'Theme', in the left menu.
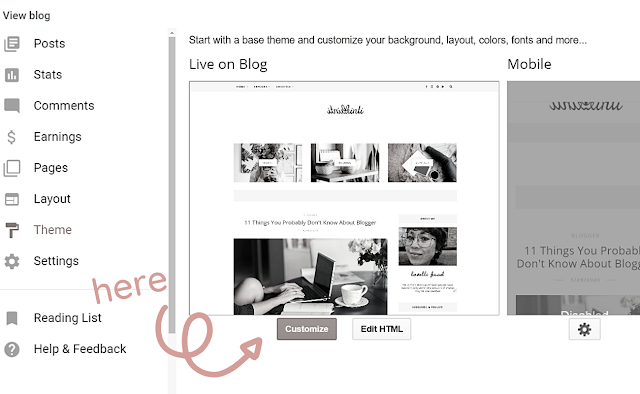
Step 2: Click on the 'Customize' button under your template look
Step 3: Go to the 'Advanced' tab menu and then select 'Add CSS'.
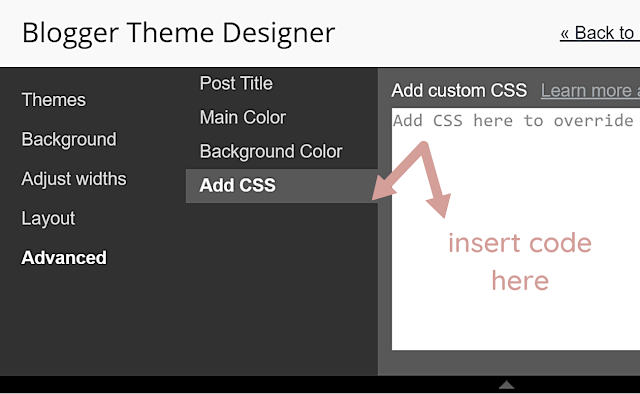
Step 4: Add your CSS code into the field where it says "Add CSS here to override existing styles..."
As an example, let's say you want to include this little snippet here. You
need to format the code with a section name and take note of it.
         /* section name */
	  .your-code here {
	       code: code;
	       code: code;
	       code: code;
	}
Maybe you want to add a second style for your link, you can name the section
something like "Link Style". To look for your snippet inside the HTML file, go
to Theme and select the Edit HTML button, and call for the
search box by clicking CTRL + F. And then, just type in
Link Style
and Blogger will try to locate it.
And that's it!
Method 2: Edit HTML
Another way you can include additional code is by adding them straight from
the HTML editor in Blogger. It would really help to understand how a Blogger
template is structured, but if you don't have time to learn it, just search
for
]]><b:skin>.
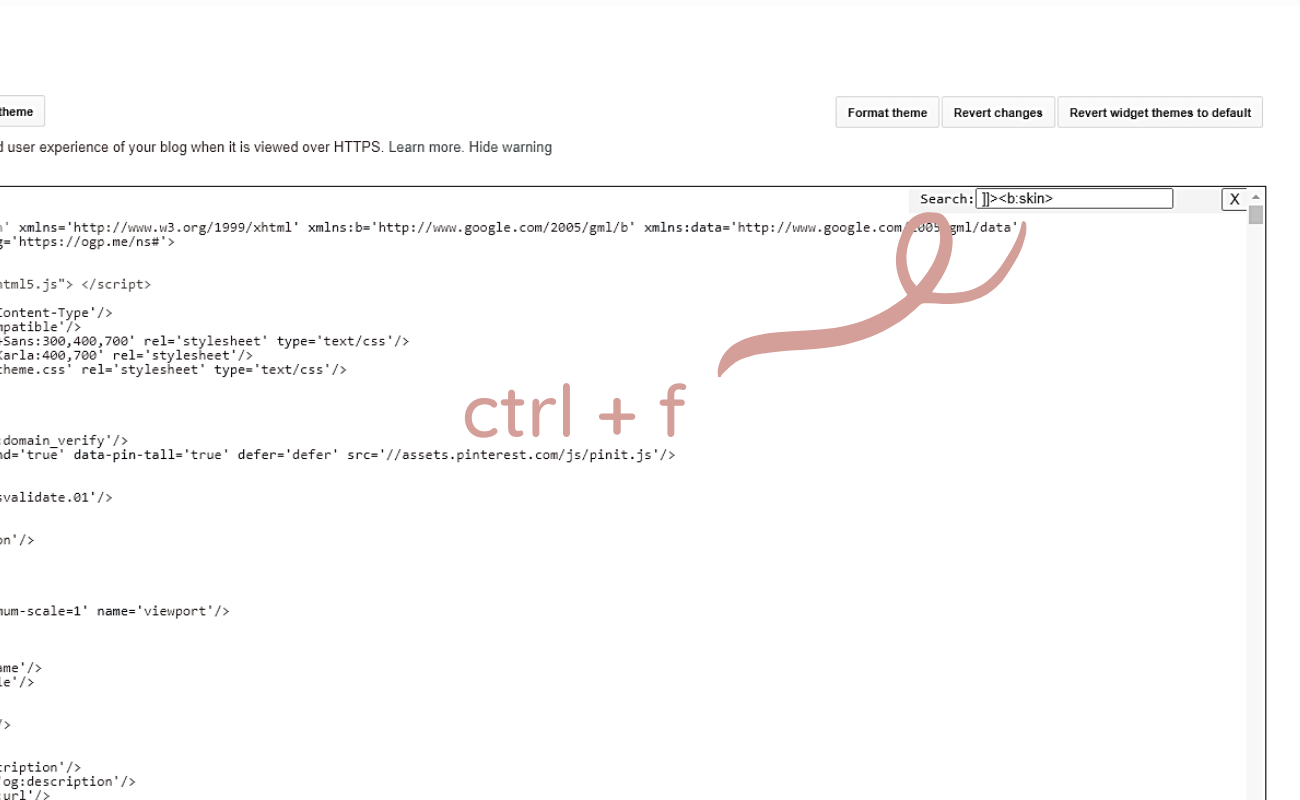
Using CTRL+F, call for the search box, and then type in ]]><b:skin>. You will usually paste the CSS code just before or right above the ]]><b:skin>.
Once the code is inserted, click "Preview Theme" or the eye icon first
to check that the theme has the effect you want. If not, go back to editing by
clicking on "Edit Theme". On the New Blogger, you click the eye icon
for the second time to edit.
Method 3: CSS Style Sheet
The third way is to customize by linking a CSS style sheet. This is a rather
"advanced" technique and I haven't gotten this to work with the current theme
either, but it is something that Blogger authors have tried. So what you need
is a CSS style sheet hosted elsewhere on the web, e.g. on Github
Then, you're going to link to the style sheet with the following code in
your HTML:
<link type="text/css" rel="stylesheet" href="https://site.come/your-style-sheet.css">
Go to your Edit HTML view again and insert the code under the just
after the
<head>
tag, anywhere before the closing
</head>
tag. This will override the CSS styling from the template with the ones you
want to include.
We can use several sheets to style the website, but again, although this might
have worked elsewhere, I haven't had any luck implementing them on Blogger. So
I can't show you exactly how it looked on
Inti Binti.
Method 4: HTML/JavaScript Widget
Using the versatile HTML/JavaScript widget on Blogger, we can include
additional CSS code. To do this, access the Layout section and then
click on the + Add a Gadget option anywhere. It can be part of the
sidebar, header, or footer.
Once you've selected the HTML/JavaScript widget, type in your styling sheet
code into the box:
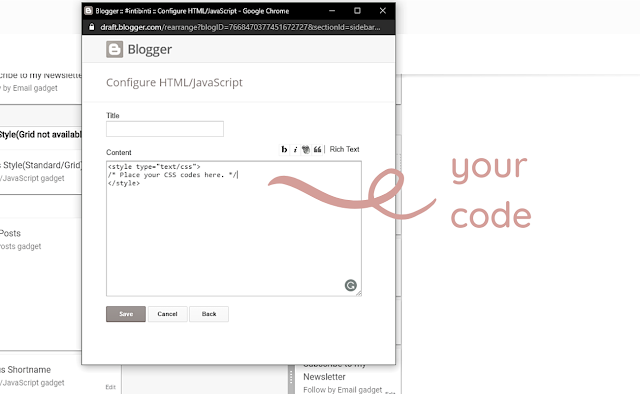
Format your code as such:
<style type="text/css">/* Place your code here */</style>
This method is probably the most risk-free and suitable for newbs, since you
don't risk messing up the structure of your template codes at all. And if you
don't need the code anymore, you can just delete the widget or edit your code
as often as you want.
Method 5: Your Blog Post
The last and probably most common way is to include the CSS styling code in
the HTML section of your blog post, which you can find by clicking on the two
less-than and greater-than symbols for the HTML view.
Step 1: Access the HTML view of your blog post.
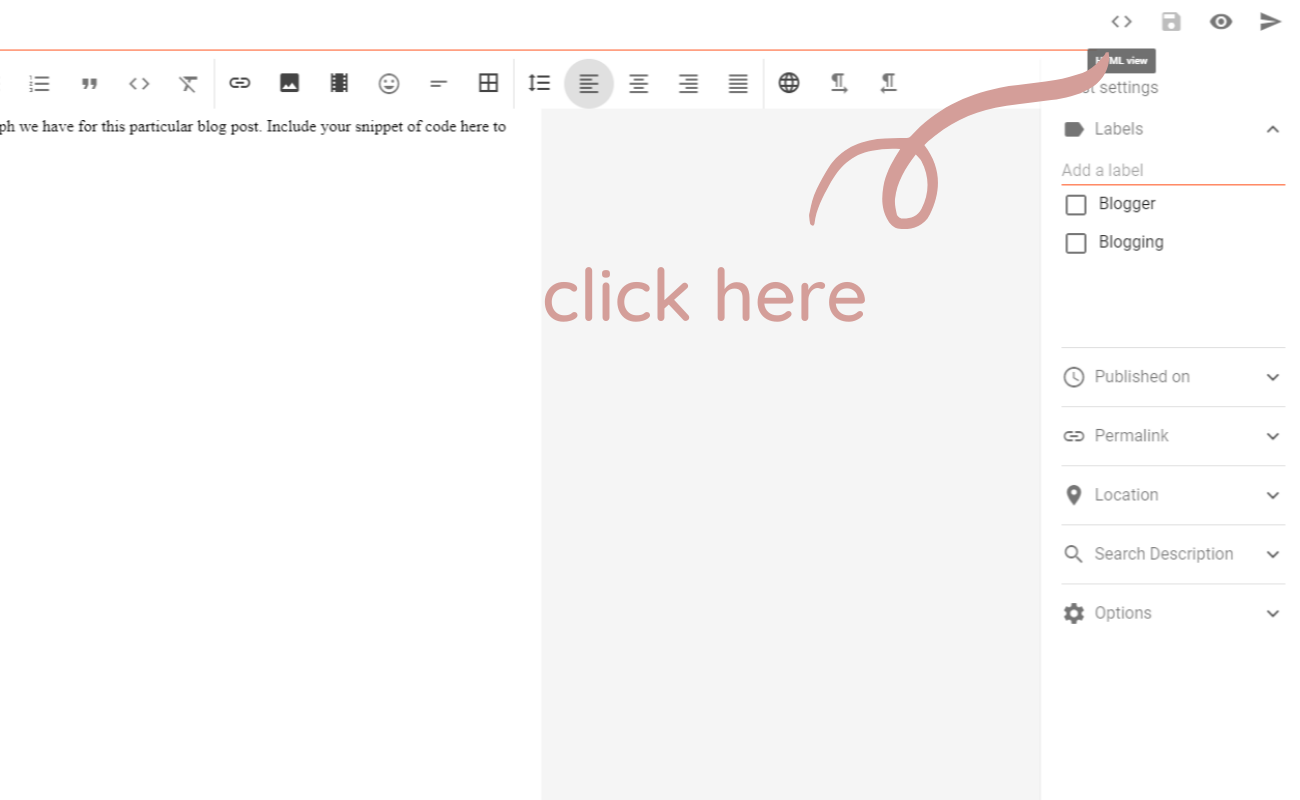
Step 2: Add your styling code manually for the selected text area.
As our example, let's say we want to change the style of the font for a
special link. Find the chunk of text in the HTML view, and then include your
styling code.
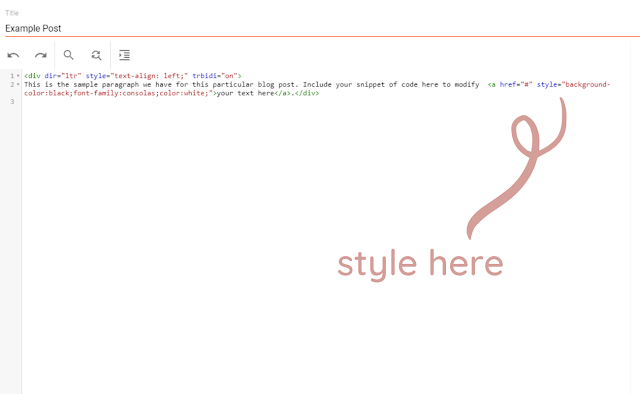
In the example, we added a black background color, changed the font family,
and made the text white using the following HTML: style="background-color:black;font-family:consolas;color:white".
That wasn't so hard, was it? 😅
Read more about the sophisticated things you can do on Blogger here:
11 Things You Probably Don't Know About Blogger.
11 Things You Probably Don't Know About Blogger.
Although this is just an easy example, you can do some pretty advanced things
with your blog posts, like add a table of content, create eye-catching
buttons, display your photographs in a slideshow, and many more.
Those are the 5 ways we can insert our custom styling code properly to
personalize Blogger. And while it can be very challenging to have to go
through codes and other unfamiliar elements, it just takes some getting used
to and a bit of fun to make the experience fully yours.
Pin us!
Also, follow us on Pinterest
@intibintiweb.
Remember to make regular backups of your blogging files, including the images,
the videos, the widgets, and of course the template. Help this post reach more
people by sharing it with your following on social media, tweet it, and feel
free to pin it.


1 comments
Very interesting, thank you!
ReplyDelete